Change of Stanchions
When we bought the boat, it was in a rather subdued state. It hadn’t received the care it deserved for quite some time. The previous owner often mentioned that it was his dream boat from his youth, but it was clear he didn’t have the time to treat it that way.
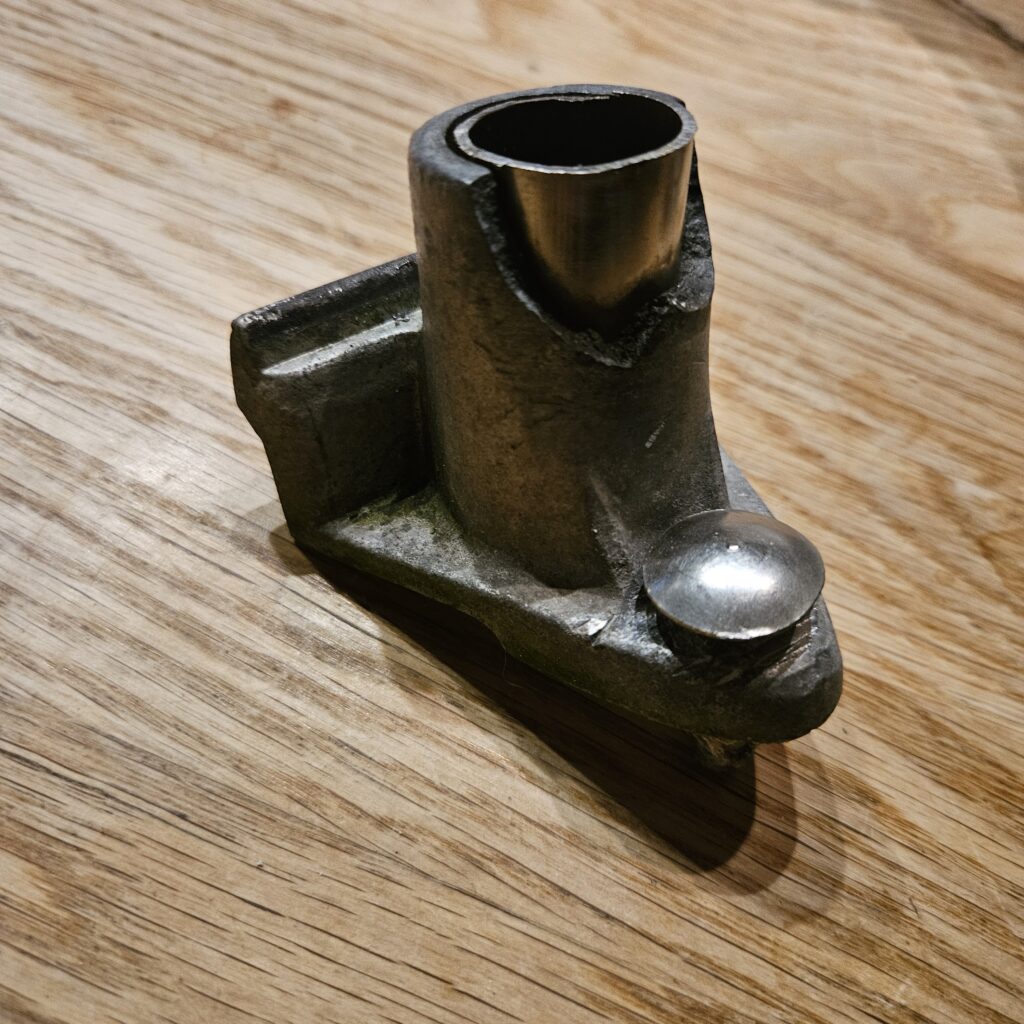
One of the most serious safety issues we discovered during the pre-buy inspection was the stanchions. They had corroded at the bases and were beyond repair. The previous owner had simply sawed them off and slipped a pipe inside as a quick fix to keep the stanchions upright. This was far from ideal and dangerous.
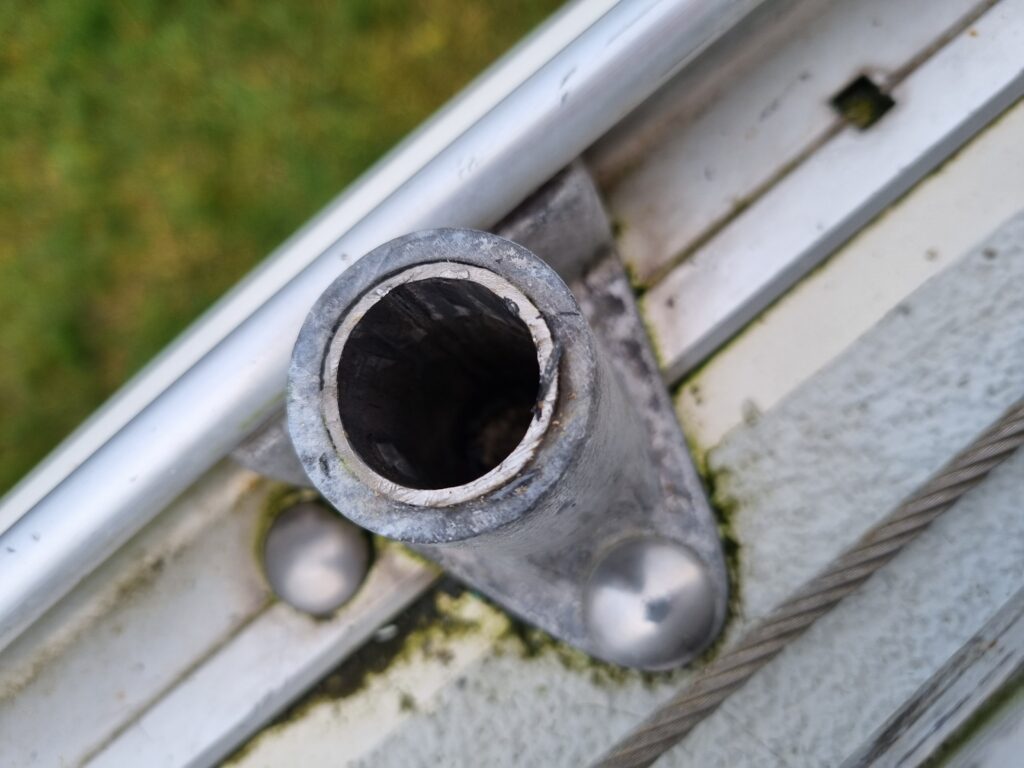
We considered all possible solutions, including welding them in place, but that would have been an eyesore every time we looked at the boat. In the end, there was only one real option: buy and install new stanchions, bases, and safety wires. A big job.
Removing, Cleaning, and Preparing
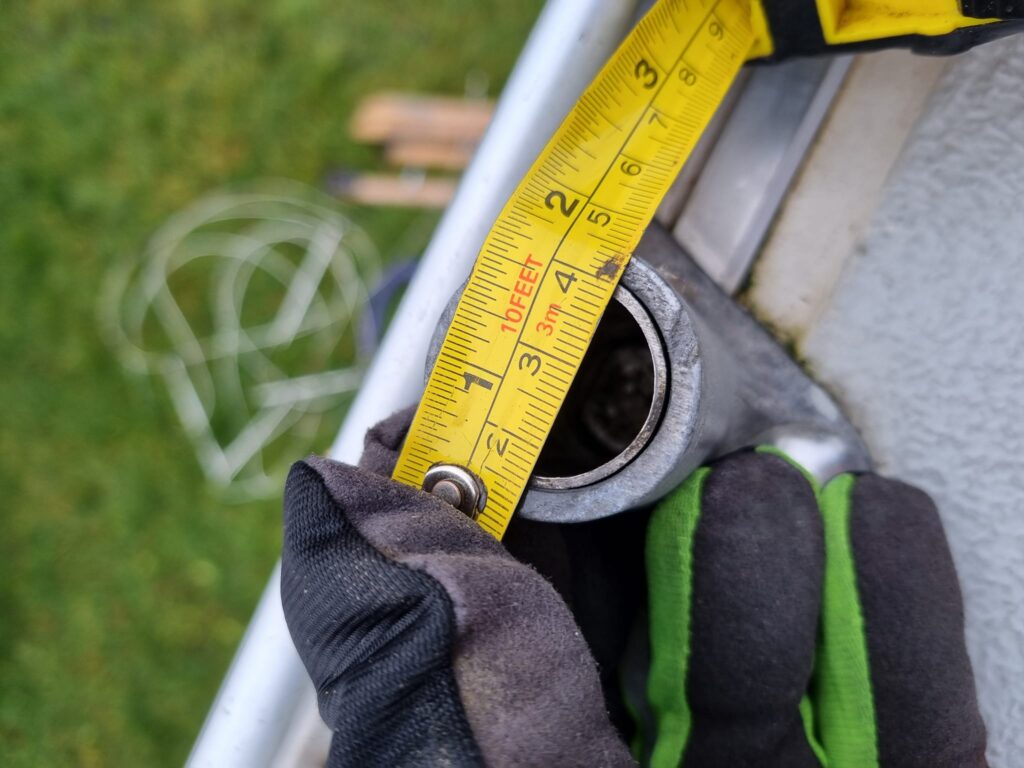
We started by removing the interior panels to gain access to the bolts along the toe rails and the stanchion bases attached to them. Once everything was stripped out and cleaned, it was time to mount the new bases.
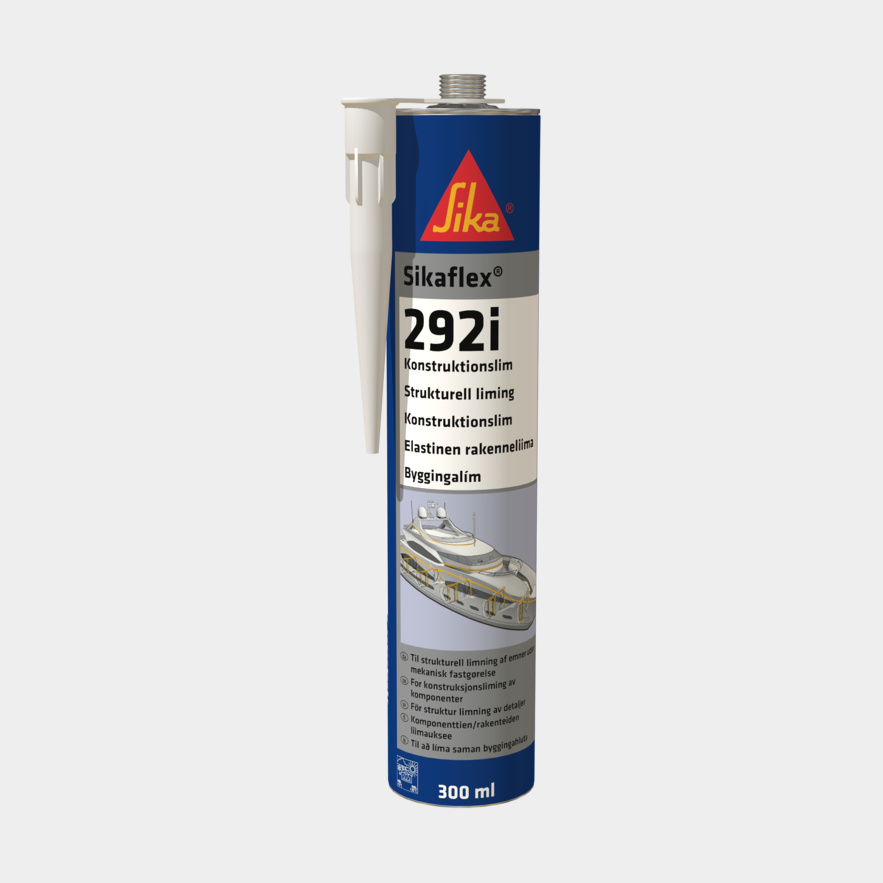
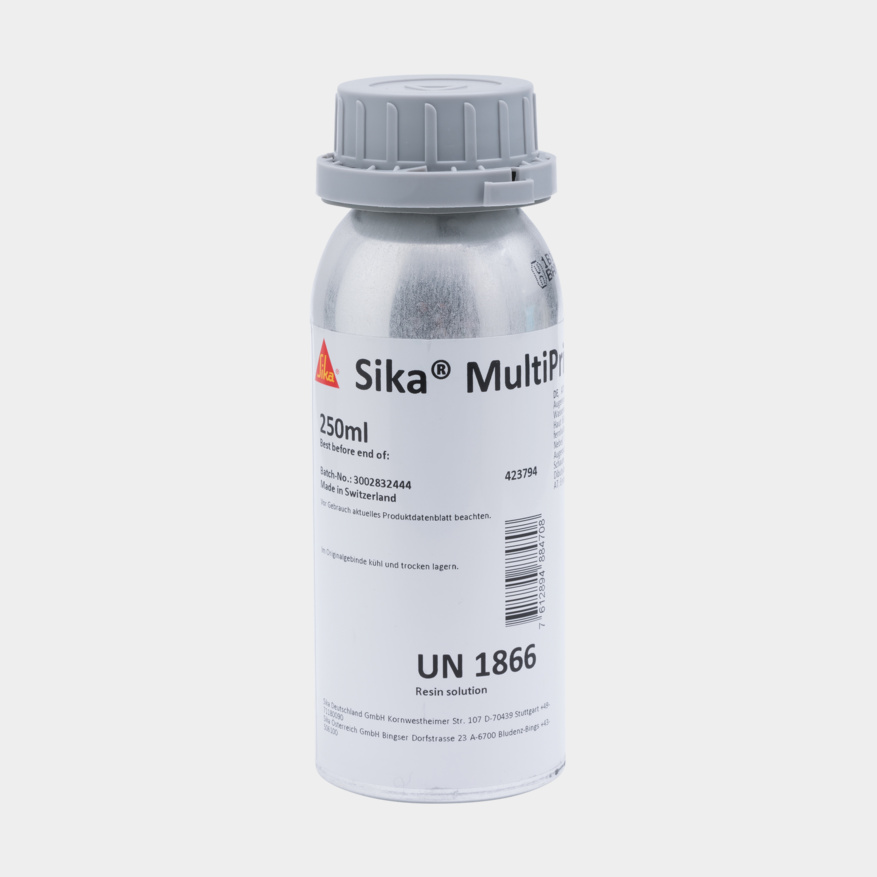
I began by applying primer to both surfaces with a small brush and let it cure the prescribed time before applying Sikaflex 292. At this stage, there are two schools of thought: either torque everything down to the prescribed value immediately or tighten partway and return later for a post-torque. Even though it went against my instincts, I chose to follow Sikaflex’s recommendation and torqued it down to the specified value from the start.
A Long Day’s Work
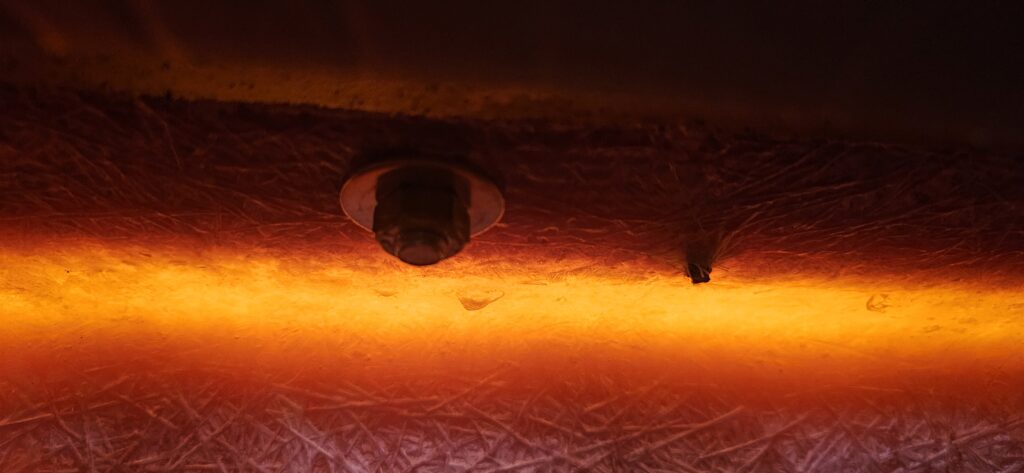
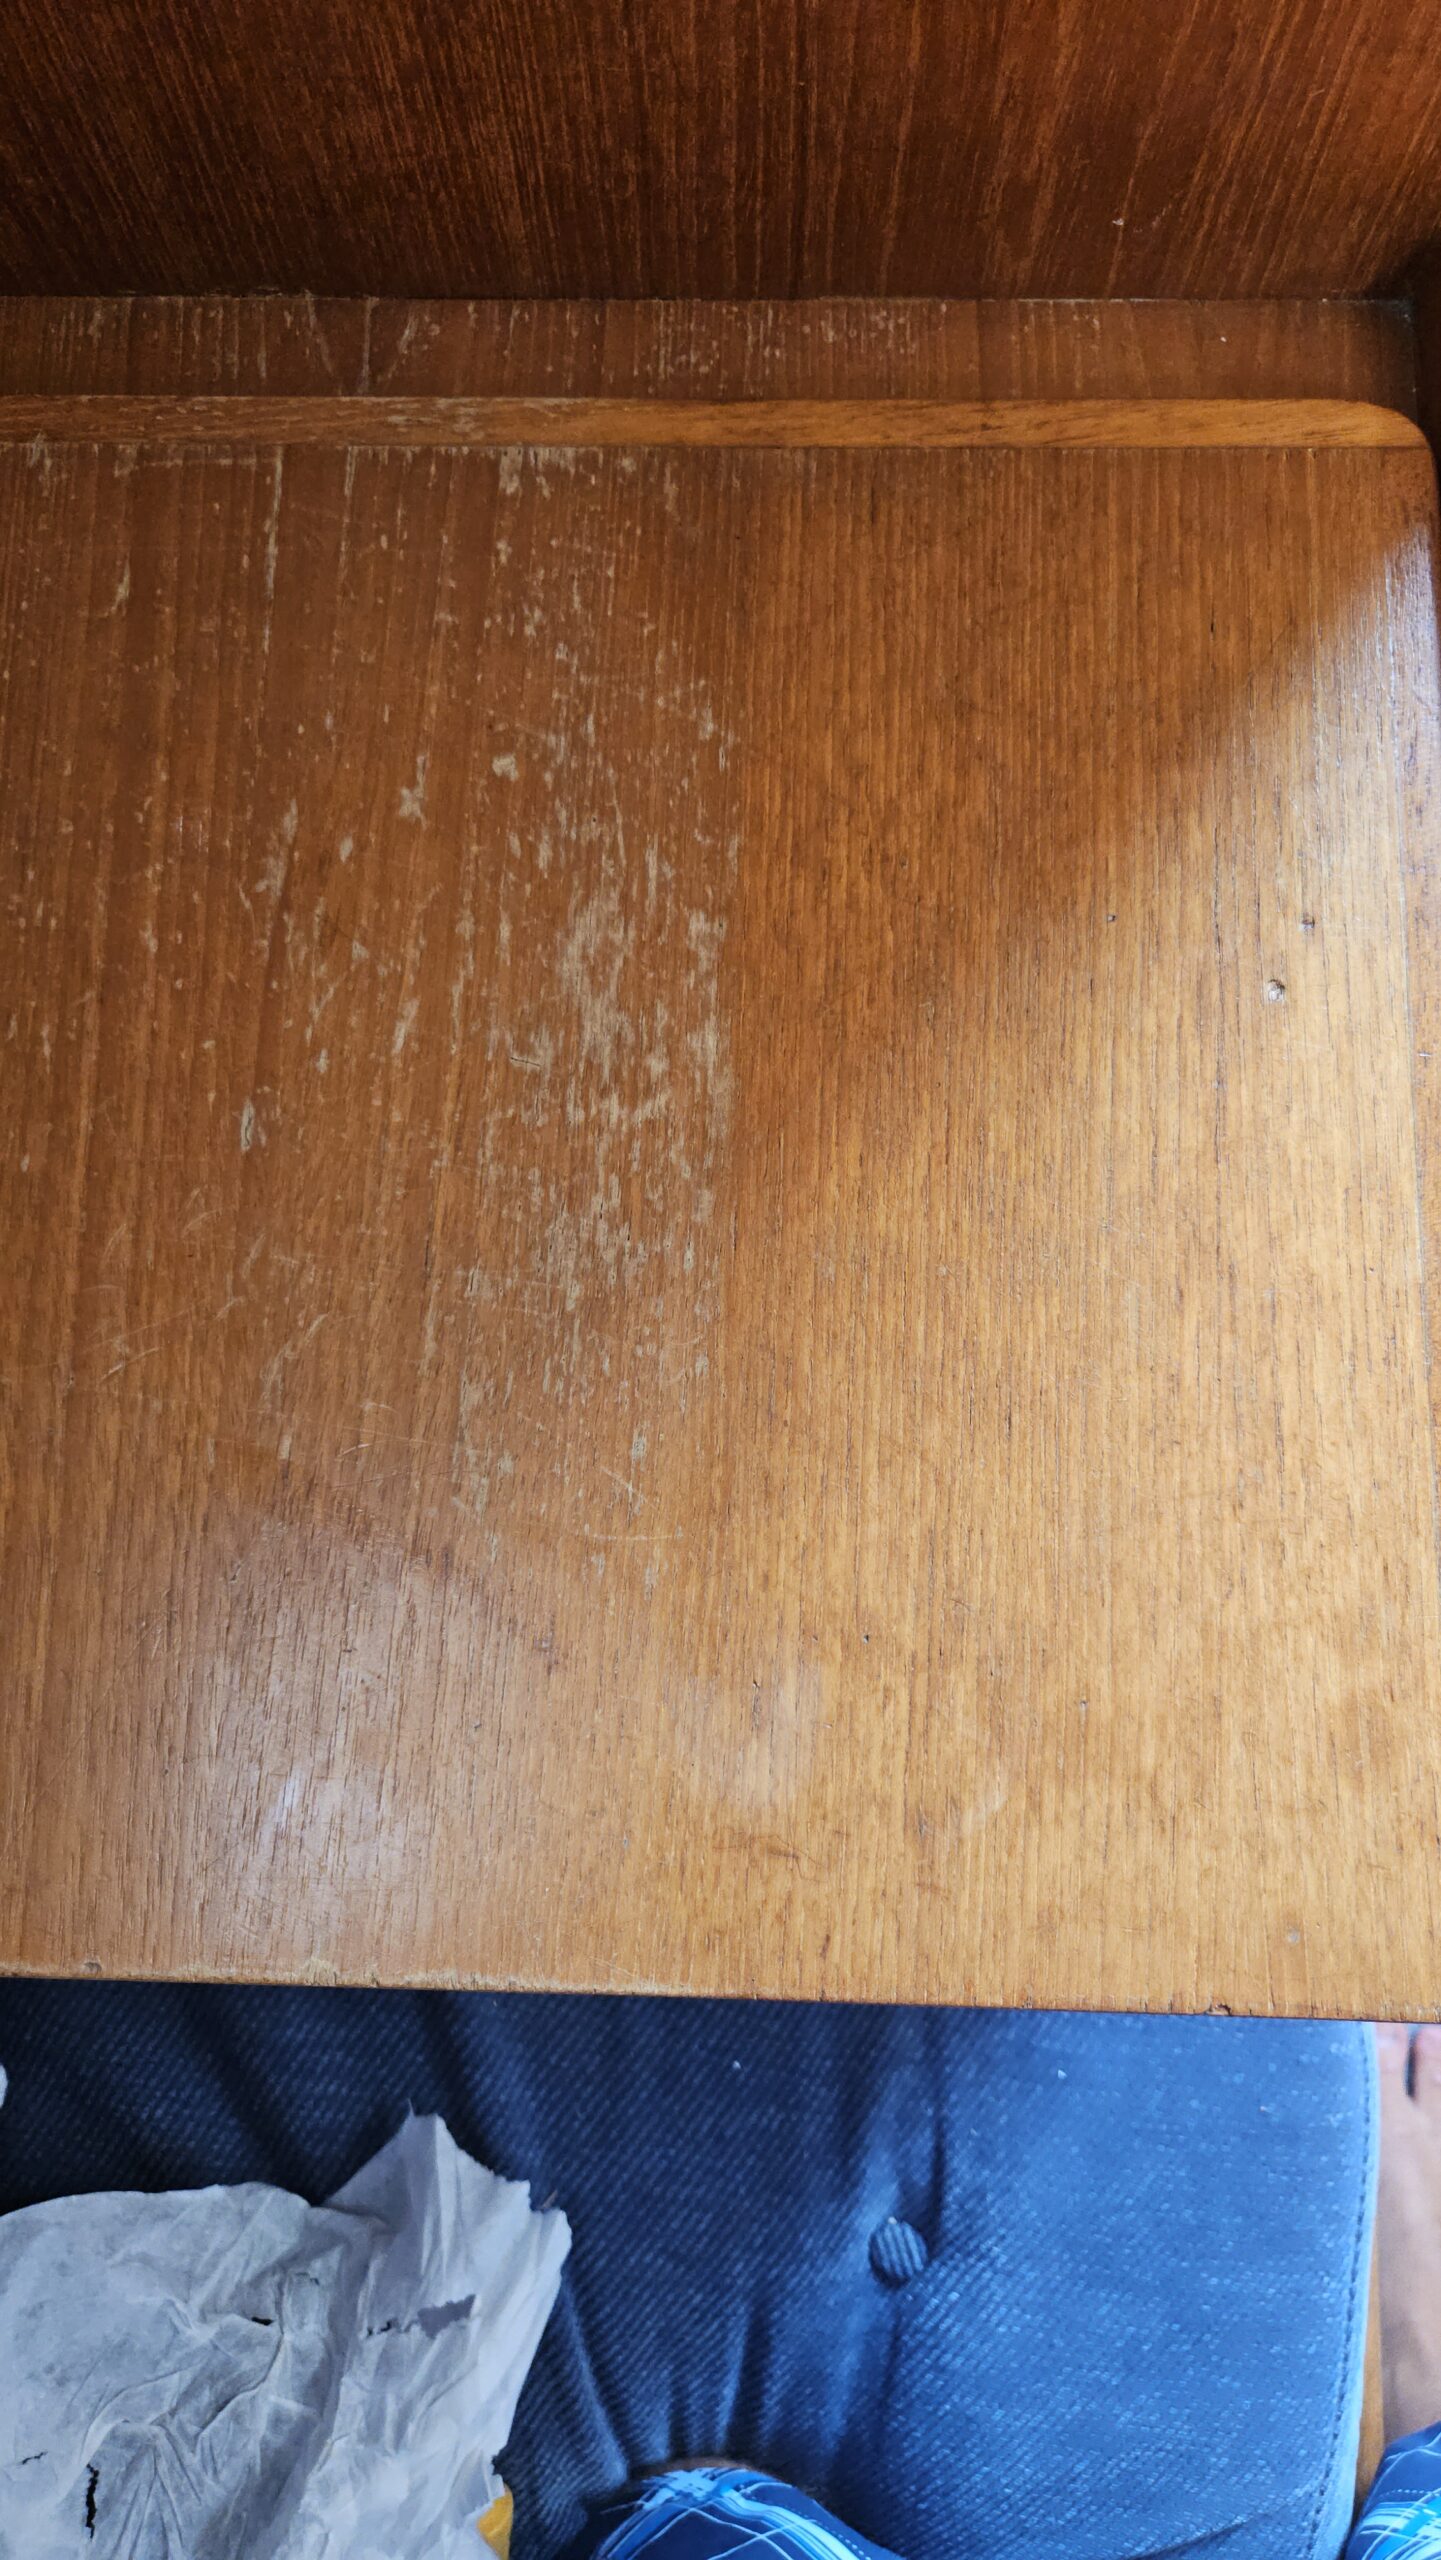
Since the space was tight for my arms, replacing all the stanchions took most of the day and a lot of climbing in and out of the boat. Along the way, I noticed that some of the wooden panels showed signs of condensation dripping down from the screws.
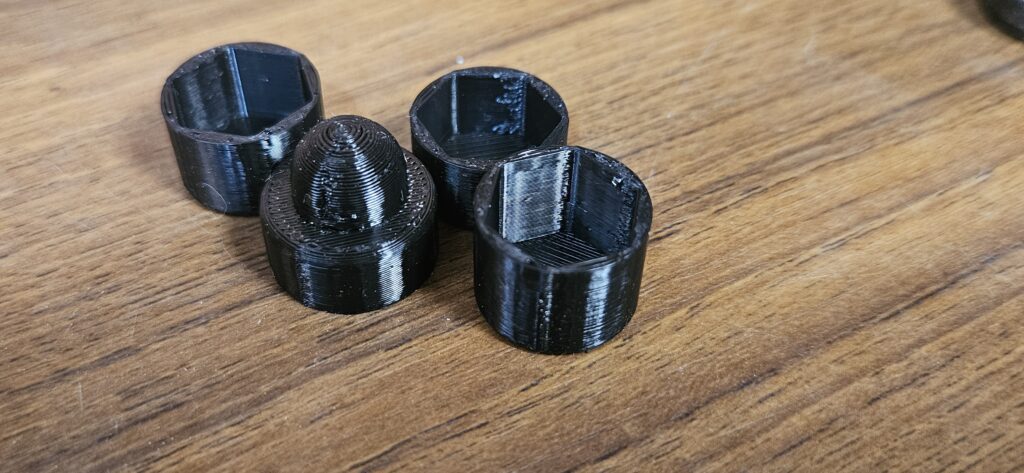
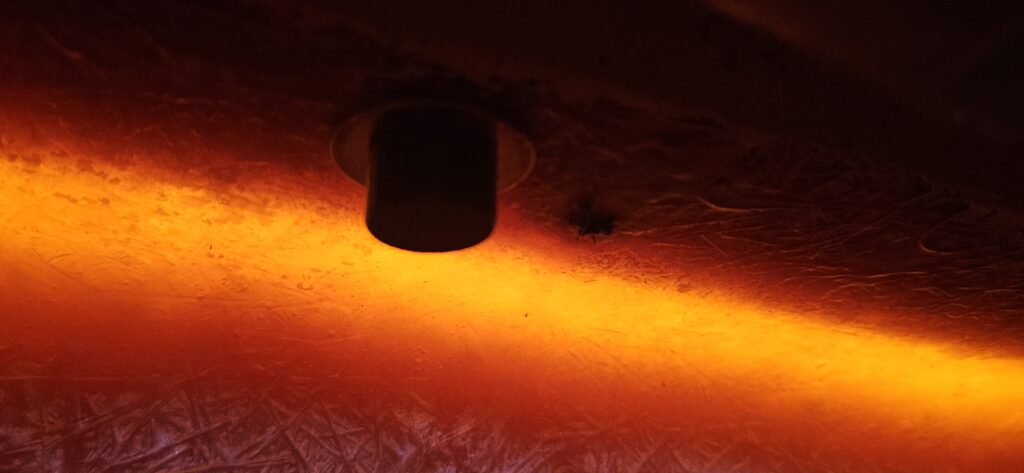
To prevent this in the future, I designed and 3D-printed a set of tight-fitting plastic covers in different sizes. With a bit of luck, these will stop condensation from forming and keep the wood structures dry. All screws I could reach and find received a plastic cover.
Finding the Right Stanchions
Once the new bases were in place, it was finally time to mount the stanchions themselves. Finding the right ones took forever. I wanted quality stanchions with a specific look: absolutely no plastic caps on top, and a solid feel with plastic shims between the aluminum base and the stainless stanchion.
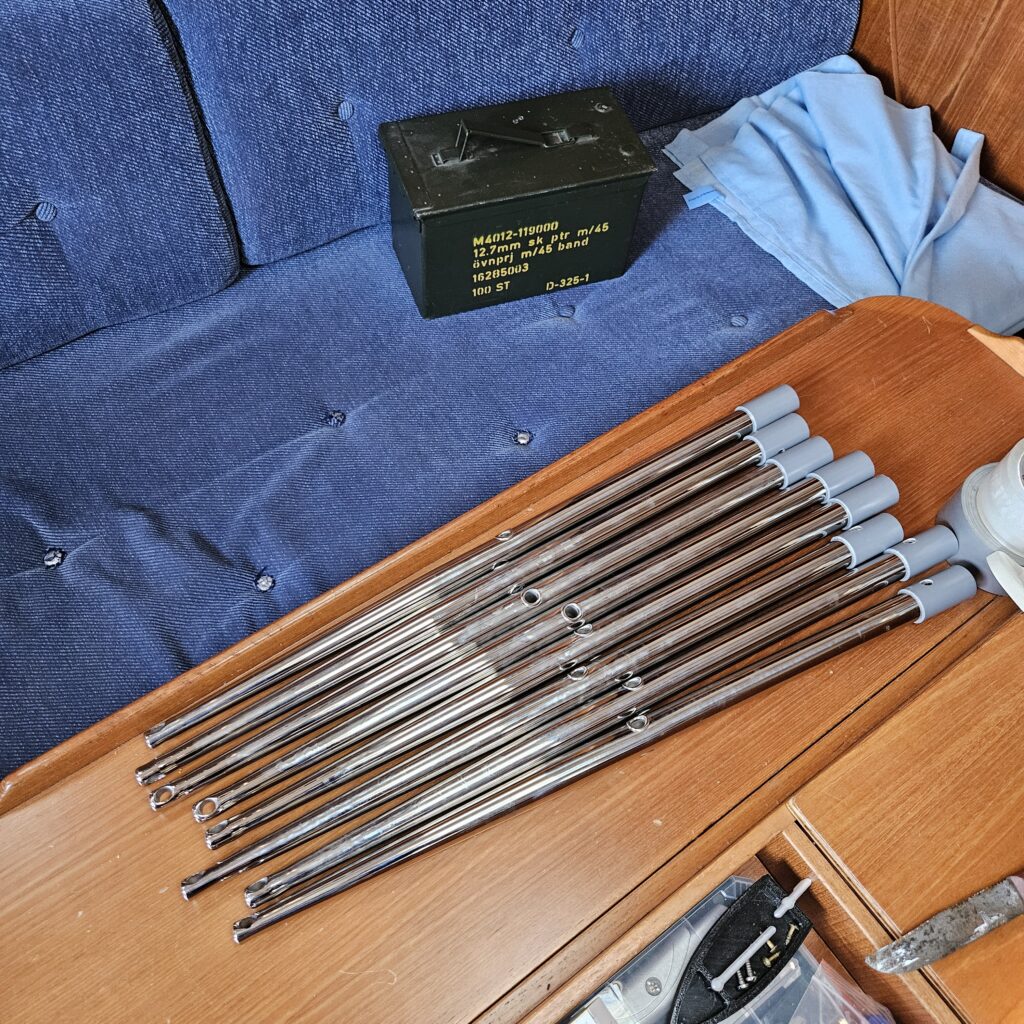
In the end, I tracked down a set from,of all places – a shop based in the Canary Islands called Nova-Argonautica. The stanchions were exactly what I wanted, and the result was perfect. The safety wires I bought from Biltema I’m less happy with, the plastic covering feels a little too soft but that will be an easy upgrade when the time comes.
A Younger Boat
Just knowing the railings are new makes the boat look ten years younger. The solid feel under hand is reassuring, and the overall look has completely changed the boat’s character.
What a project this turned out to be and absolutely worth the effort.
One Comment
Pingback: