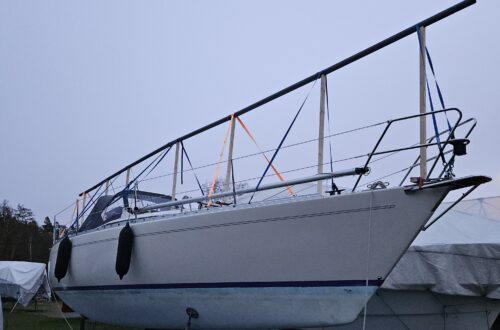
Lithium battery upgrade onboard Red Line
As with many other boats and actually all the boats I’ve owned in the past – the electric system was in disaster mode when we bought Red Line. It had three lead-acid batteries connected in parallel, all different sizes and ages. Wires were everywhere, cut in random lengths, and many of them were solid house wiring instead of flexible marine cable. Some wires had simply been cut off, without anyone knowing if they were still live. Others were just taped. Panic.
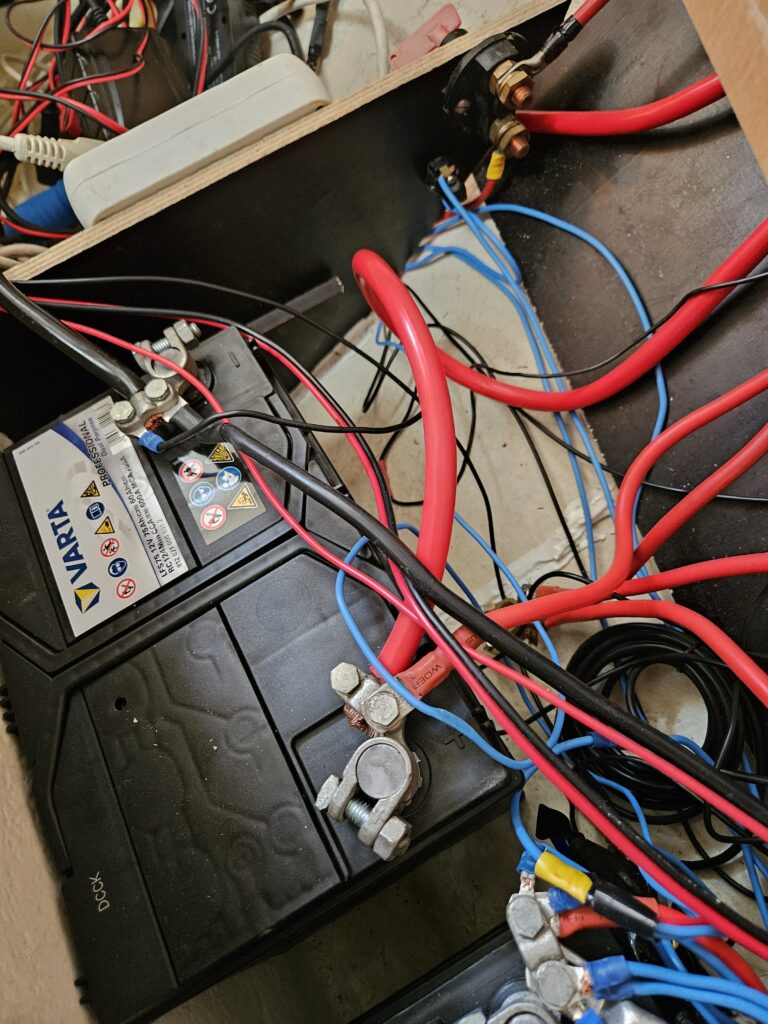
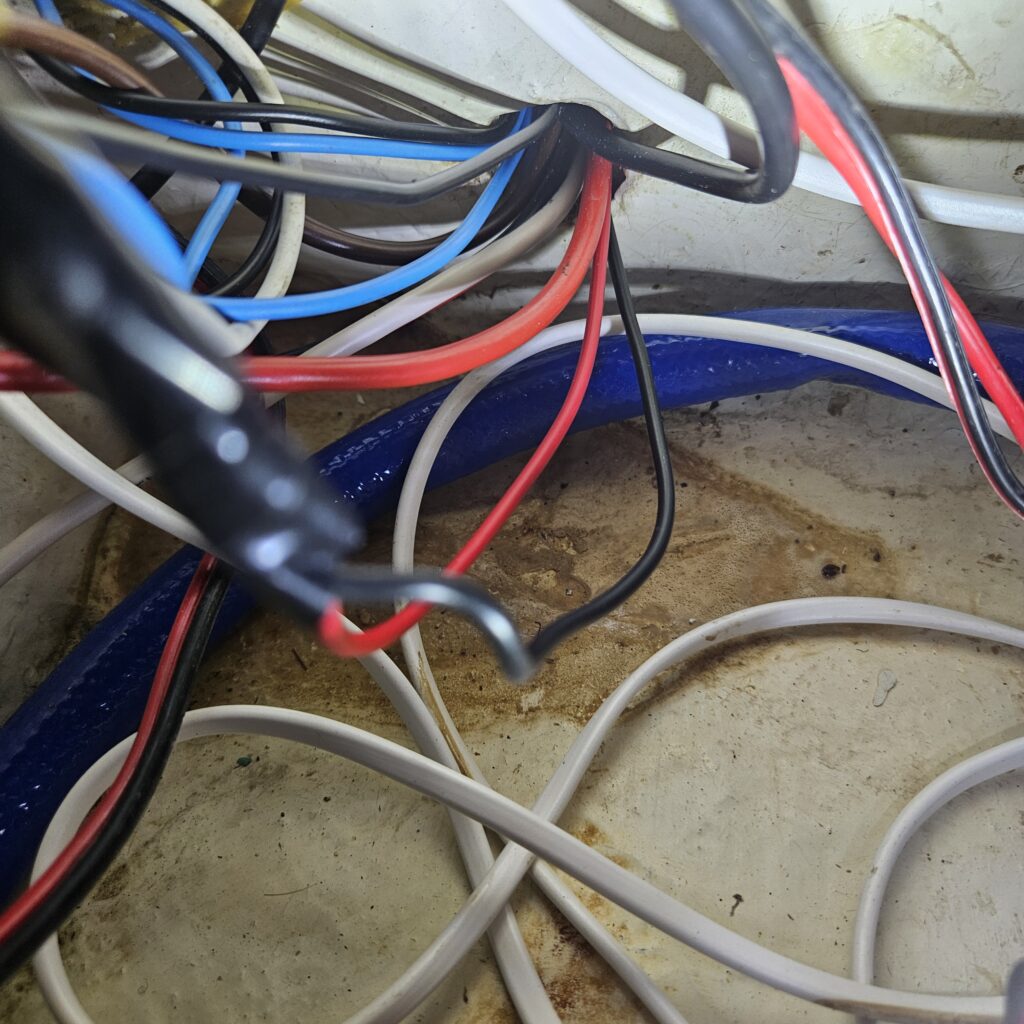
To be fair, some wires were labeled at both ends, so I think the ambitions were high when the previous owner started. But as so often happens, things spiraled.
The Coffee Maker Moment
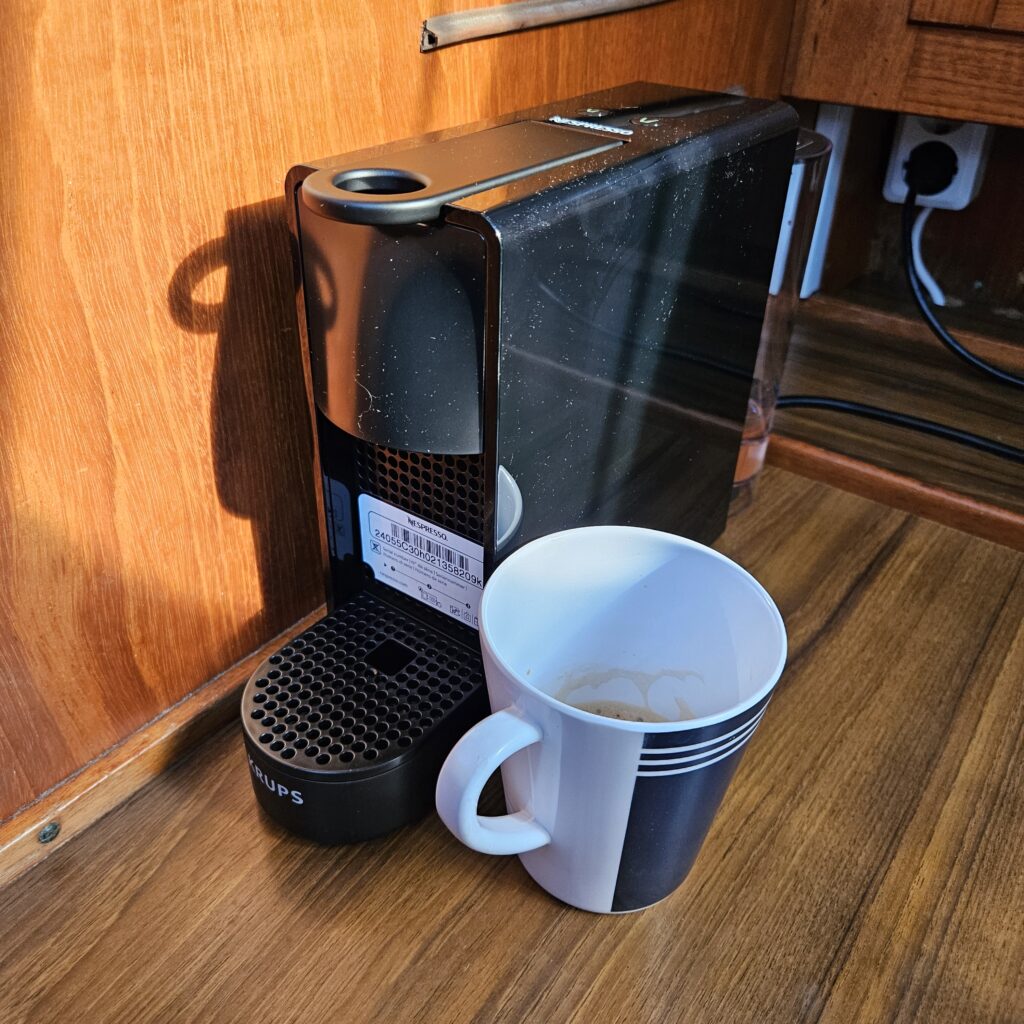
It all started in a completely different place: the Stockholm boat show in March 2024, where Victron had a stand showing a coffee maker running from an inverter. I looked at Emelie and said, “We need that.”
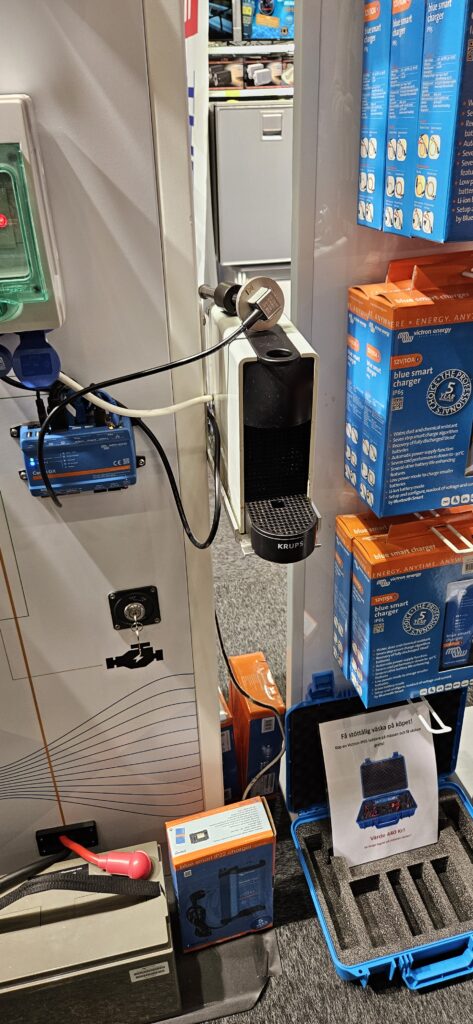
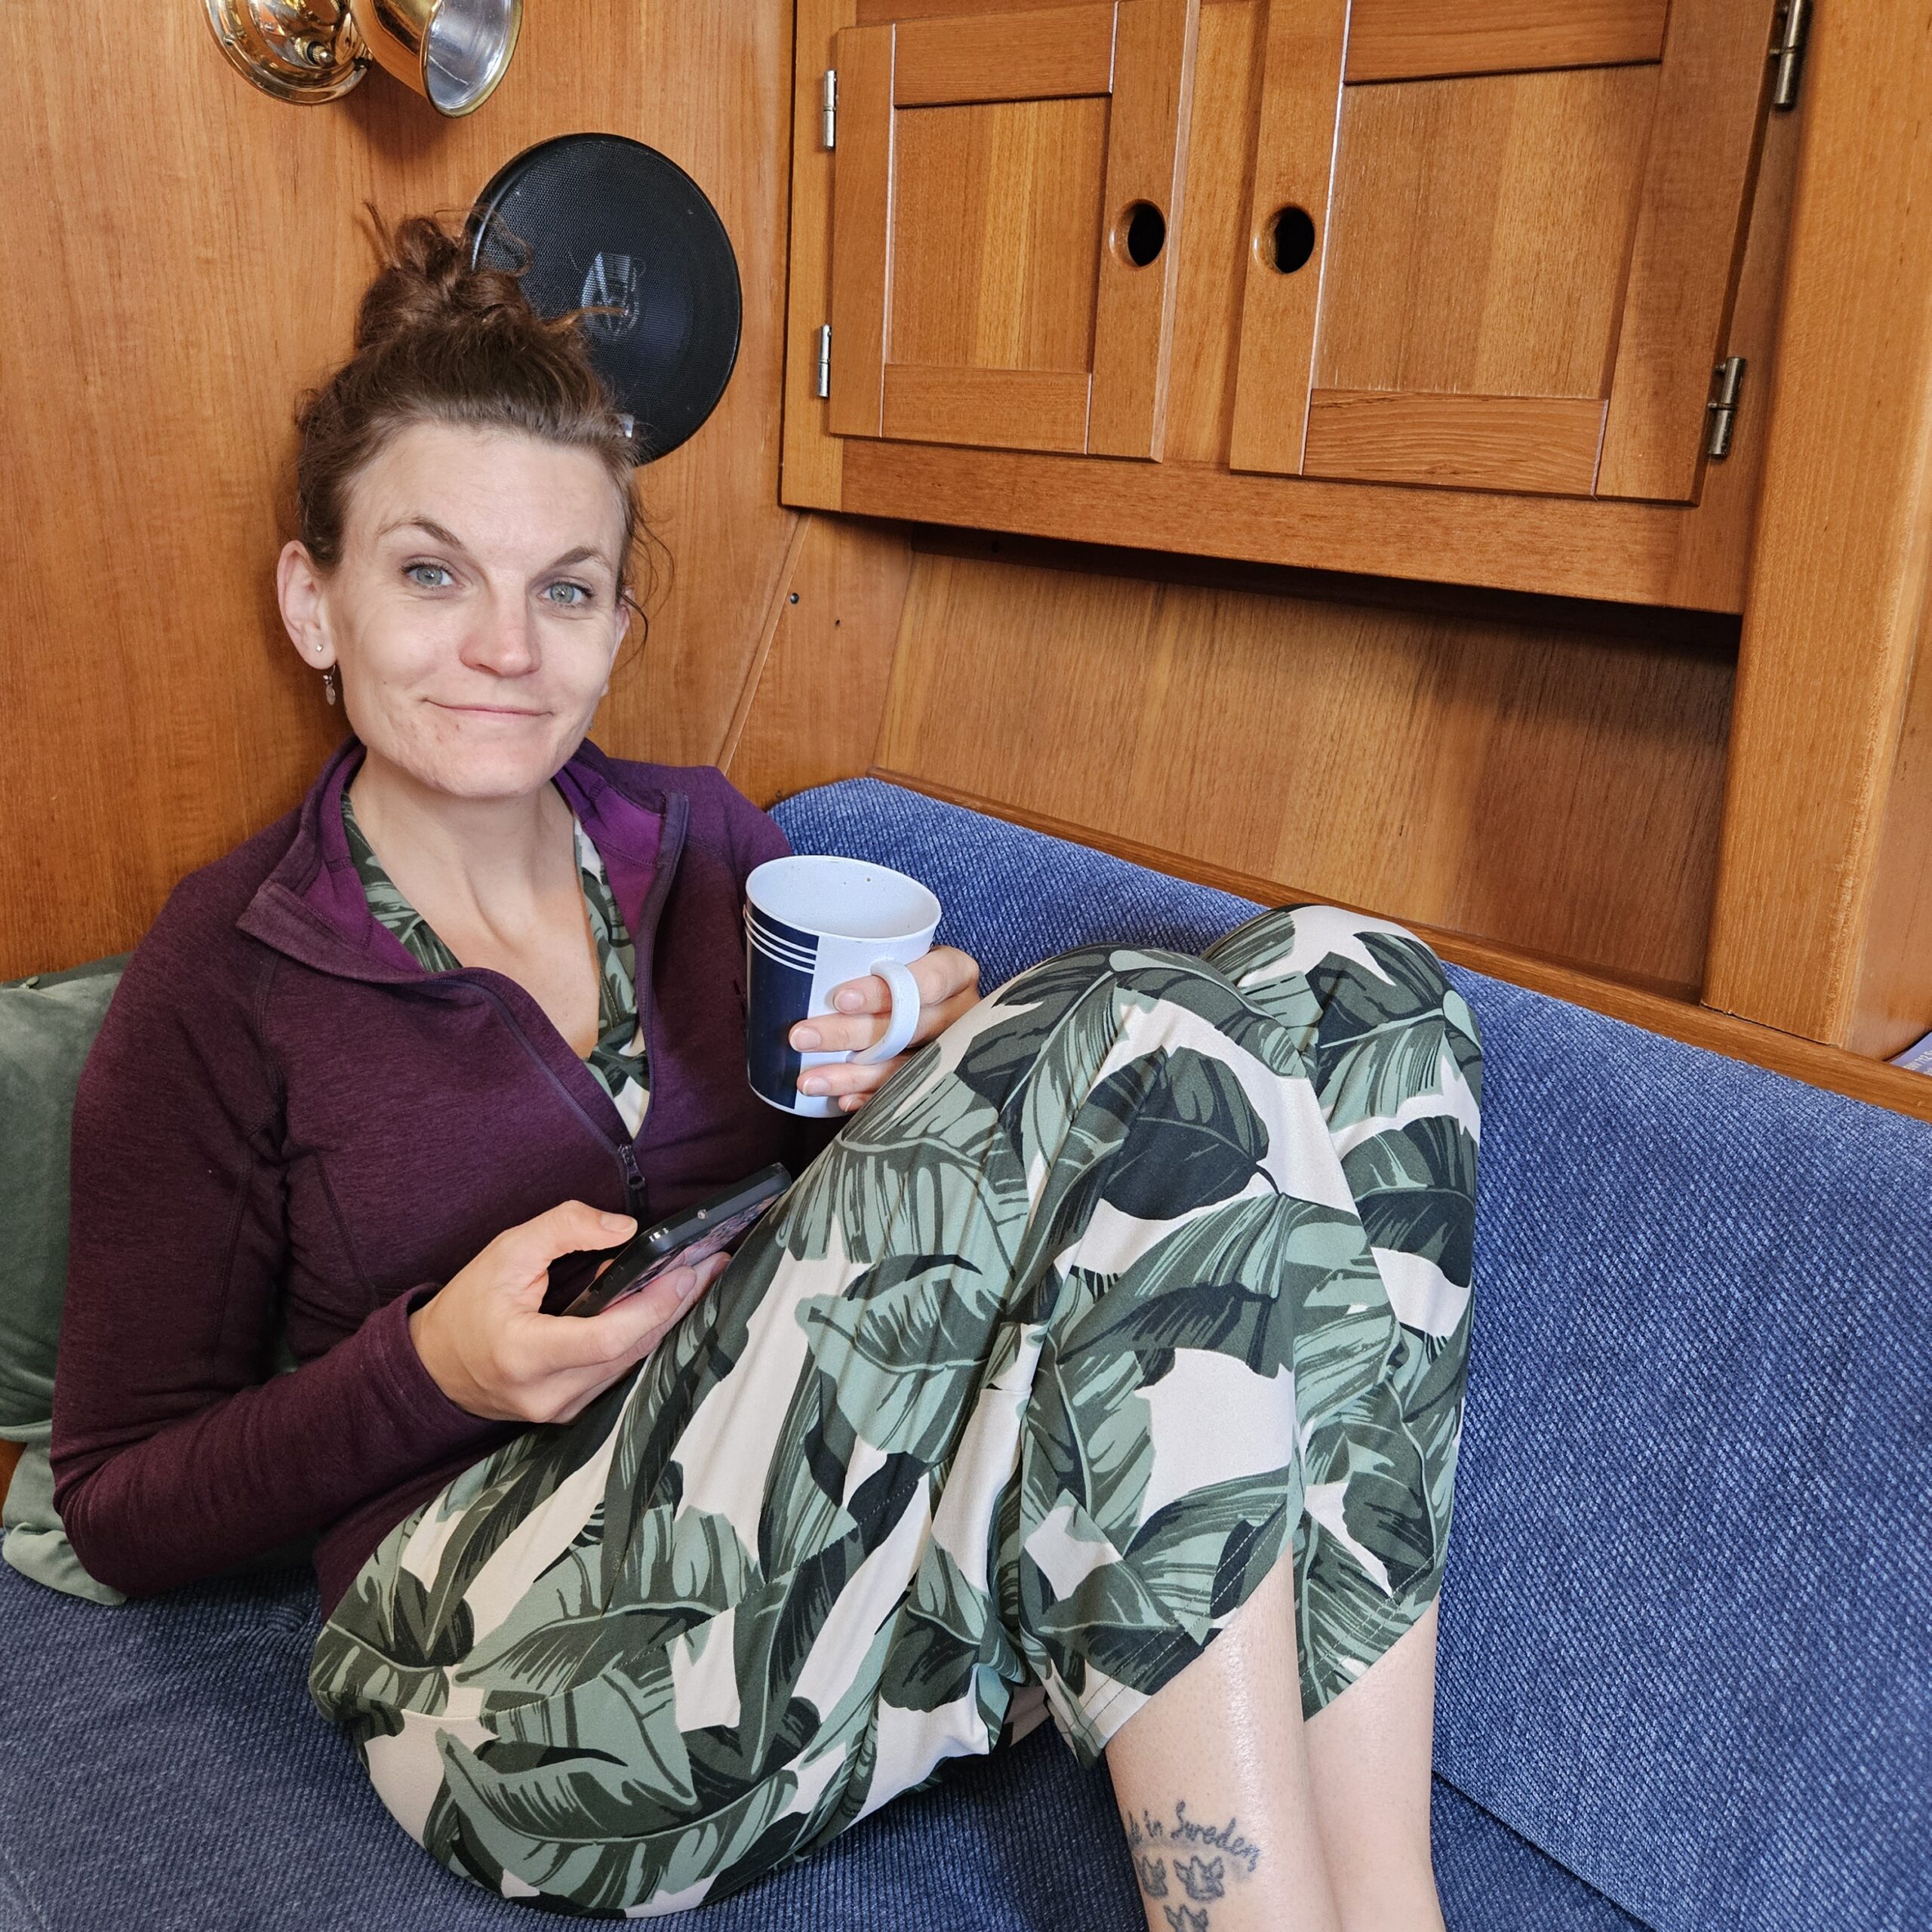
Two months later, we were sitting in Red Line enjoying our own Nespresso coffee. It became an expensive cup of coffee. But let’s take a step back to see how we got there.
Choosing the Battery
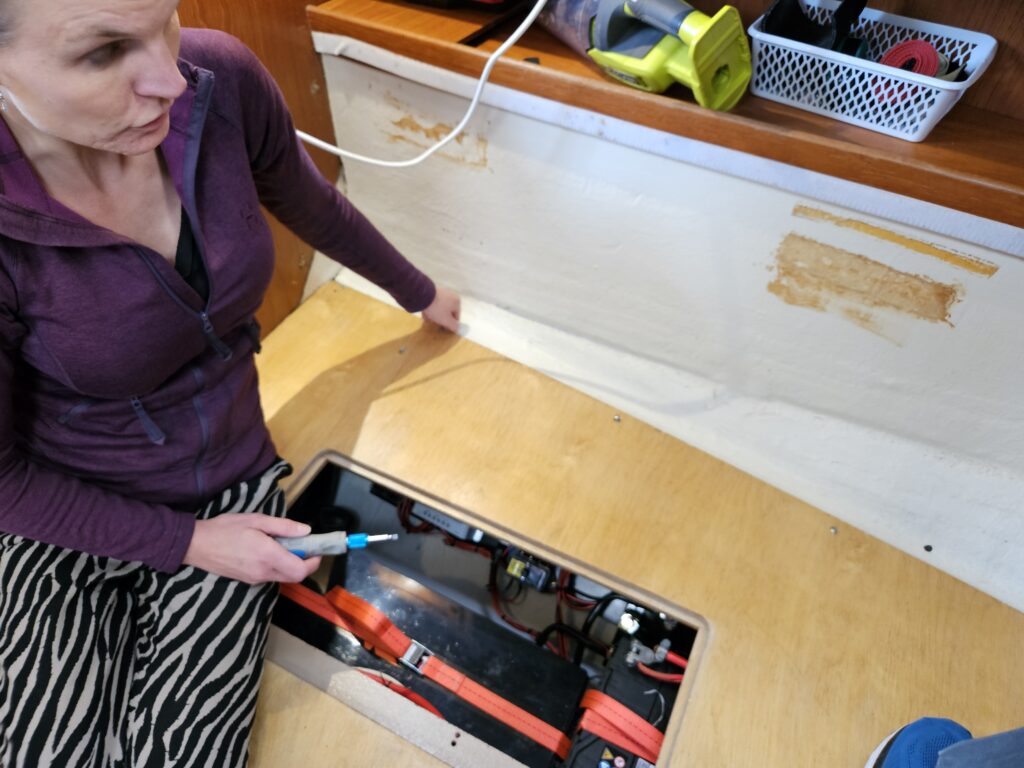
During planning, I wanted a single battery unit that would fit under the port sofa. I didn’t want the complexity of running two batteries in parallel. Yes, that reduces redundancy, but I value simplicity more.
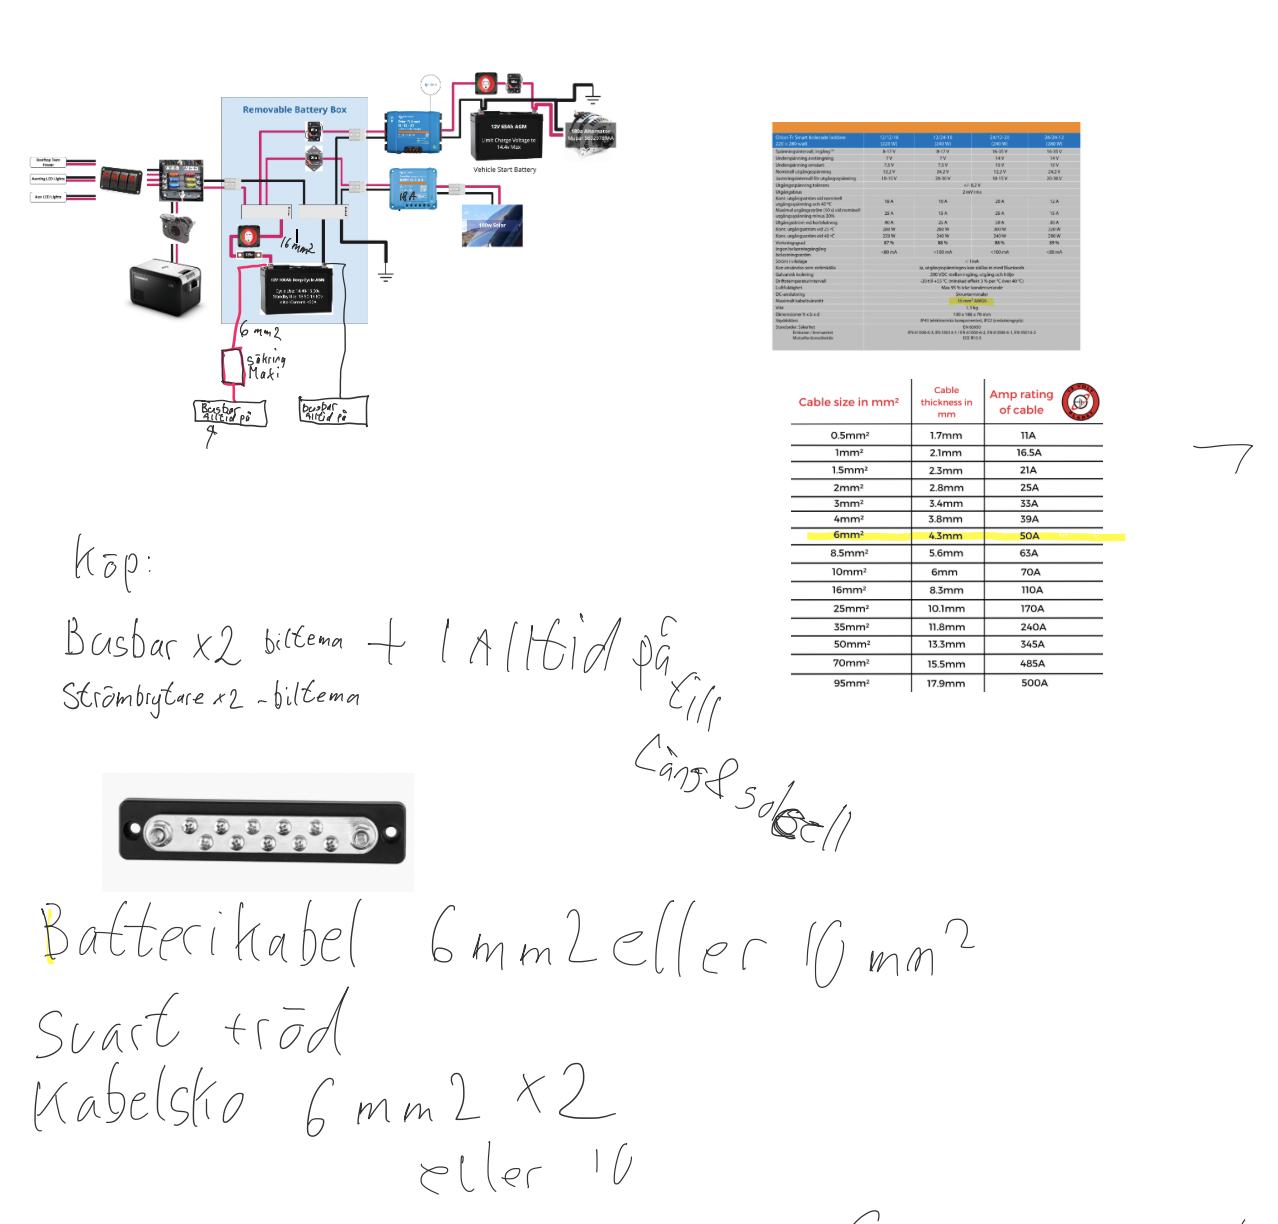
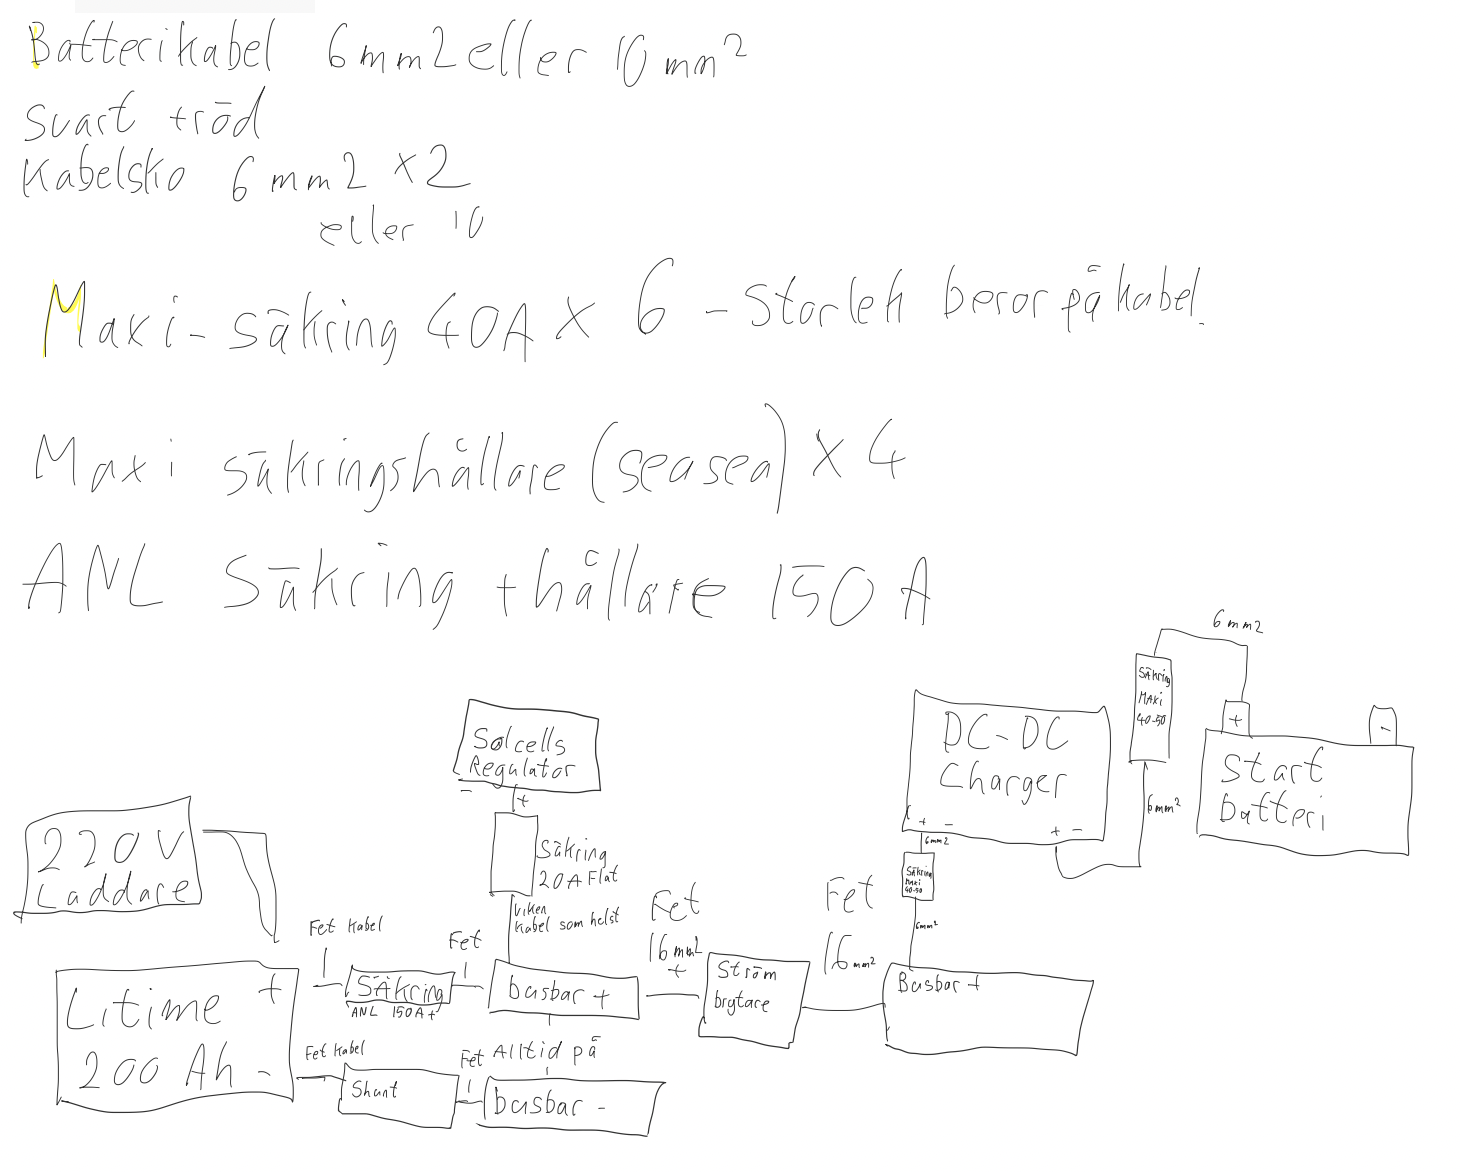
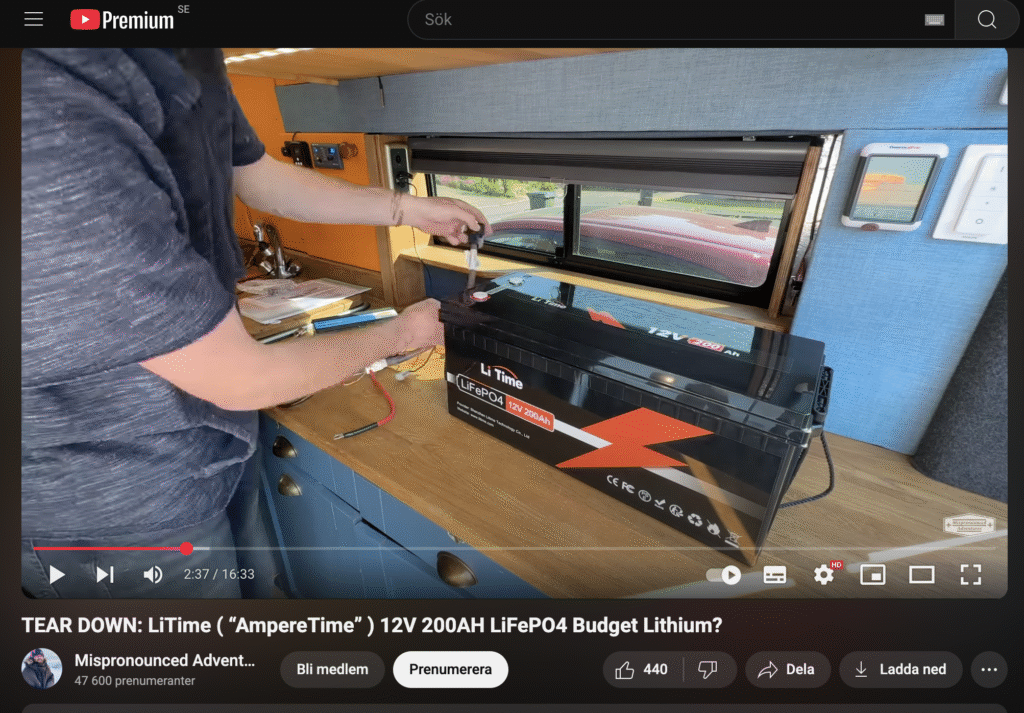
After thorough research, I chose a Litime 200 Ah LiFePO4 battery. I’d seen many teardown videos, and LiTime consistently scored high for build quality. It seemed like a solid choice.
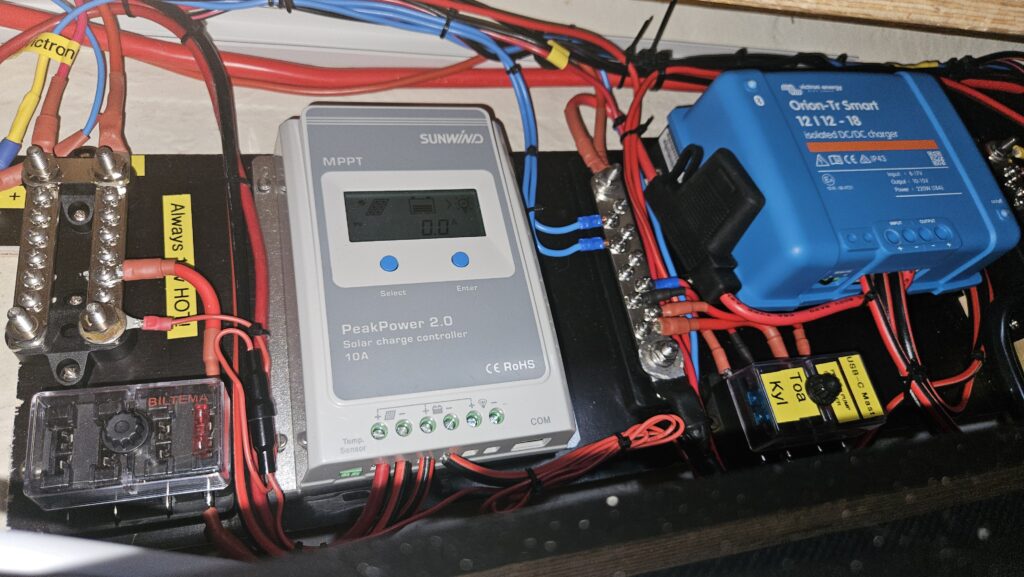
The boat already had a solar charger, which I decided to keep. In addition, I needed switches, fuses and fuse holders, a DC-DC charger, an AC-DC charger, and finally a battery monitor, something I had wanted for years.
The New Setup
The components I ended up with:
- Litime 200 Ah LiFePO4 house battery (non-connected model)
- Victron battery monitor and shunt with Bluetooth
- Victron Orion Smart DC-DC charger, 18 A with Bluetooth
- Victron Blue Smart AC-DC charger, 13 A with Bluetooth
- Bluesea master switch
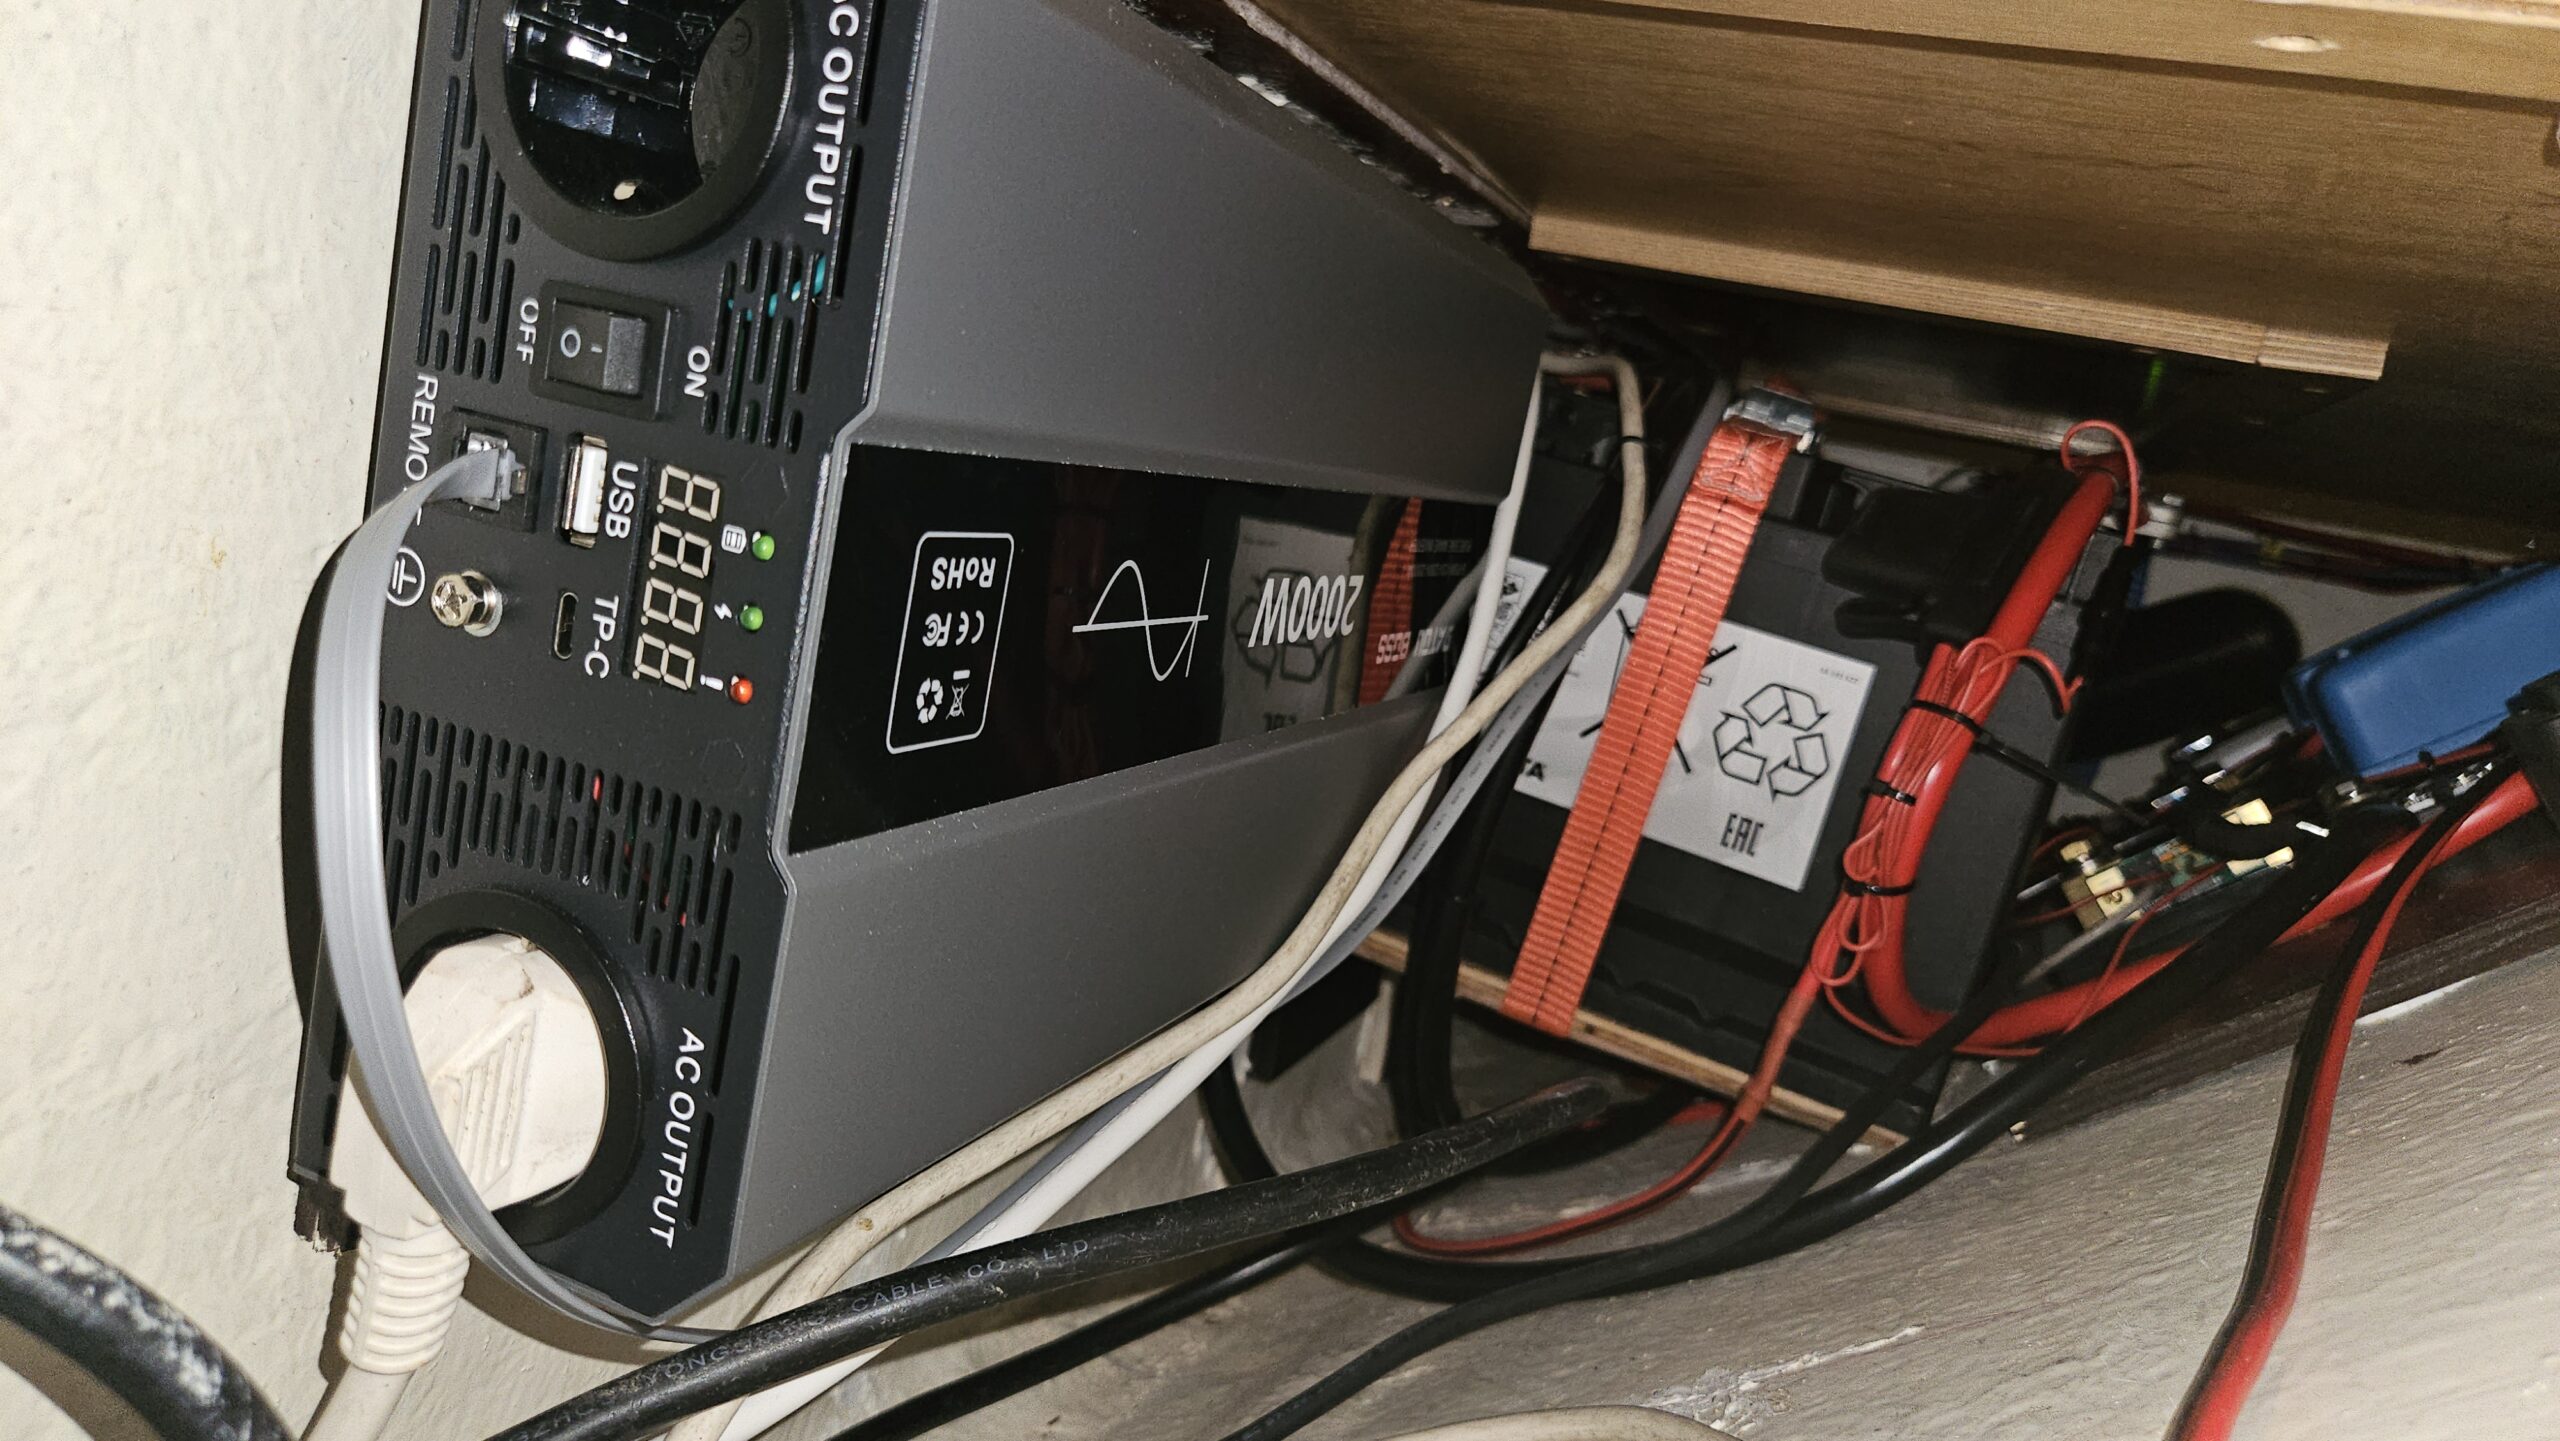
- Dautoboss 2000 W pure sine inverter
- Battery cables and terminals from Biltema
Building the System
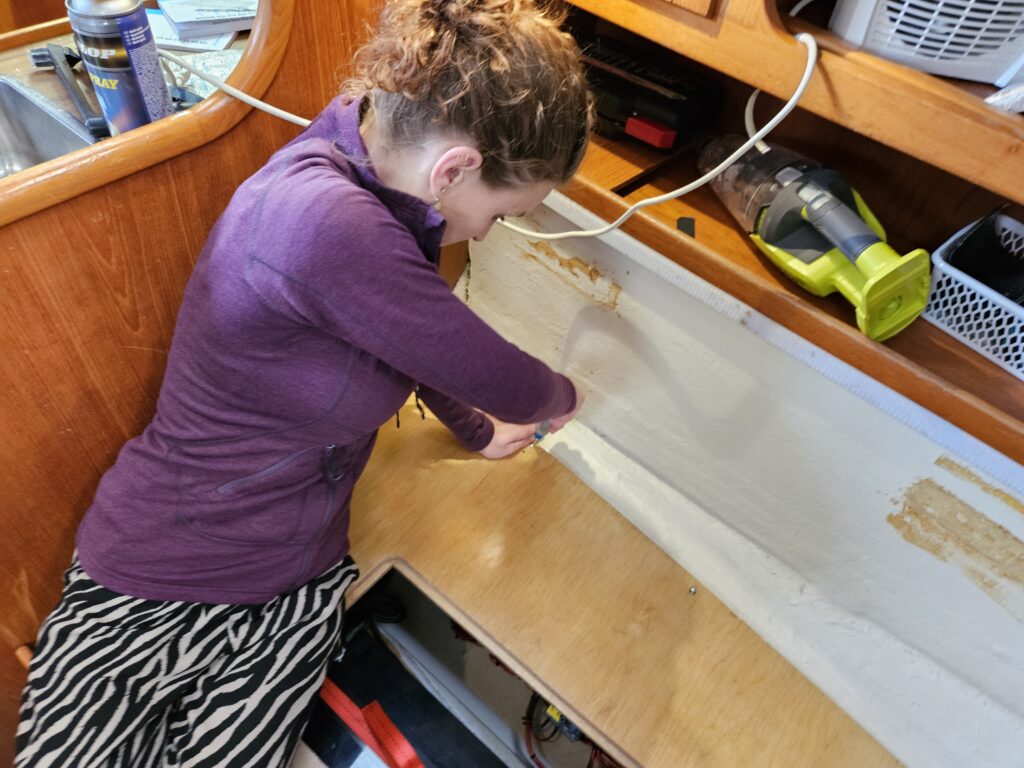
I started by measuring and building the mounts for the battery, using outdoor-grade plywood to avoid future issues (even though the battery compartment is very dry). With the mounts in place, the real work began.

I installed the main bus bars, one controlled by the master switch and one bus bar always powered for essentials like bilge pumps and solar. From there I connected each consumer one by one to the bus bars and fuse blocks. Finally, I hooked up the starter battery, and last of all the inverter. The key to fresh coffee and toast on board. The most time consuming part was to track down where all the cables went in the boat, and where possible replace them with suitable cabling.
What’s Next
Two full seasons later, the system still looks tidy and has been working flawlessly. 200Ah hours are plenty for our needs, and I can’t remember a single occation we went below 50% in battery capacity.
The next big project will be designing a new switch panel and tidying up the wiring behind it. But that’s a project and story for another day.

You May Also Like
Cabin lighting with Red Light
Air Only Ventilator installation